Want to learn how to embroider a hoodie to achieve professional results? We’ve got you covered!
Whether adding a fun design or personalizing a gift, this step-by-step guide will show you how to get excellent results every time. Let’s get stitching!

Want a hands-on guide? Watch the video tutorial below while following along with the blog!
Materials:
- Hoodie sweater
- Embroidery hoop
- Thread
- Scissors
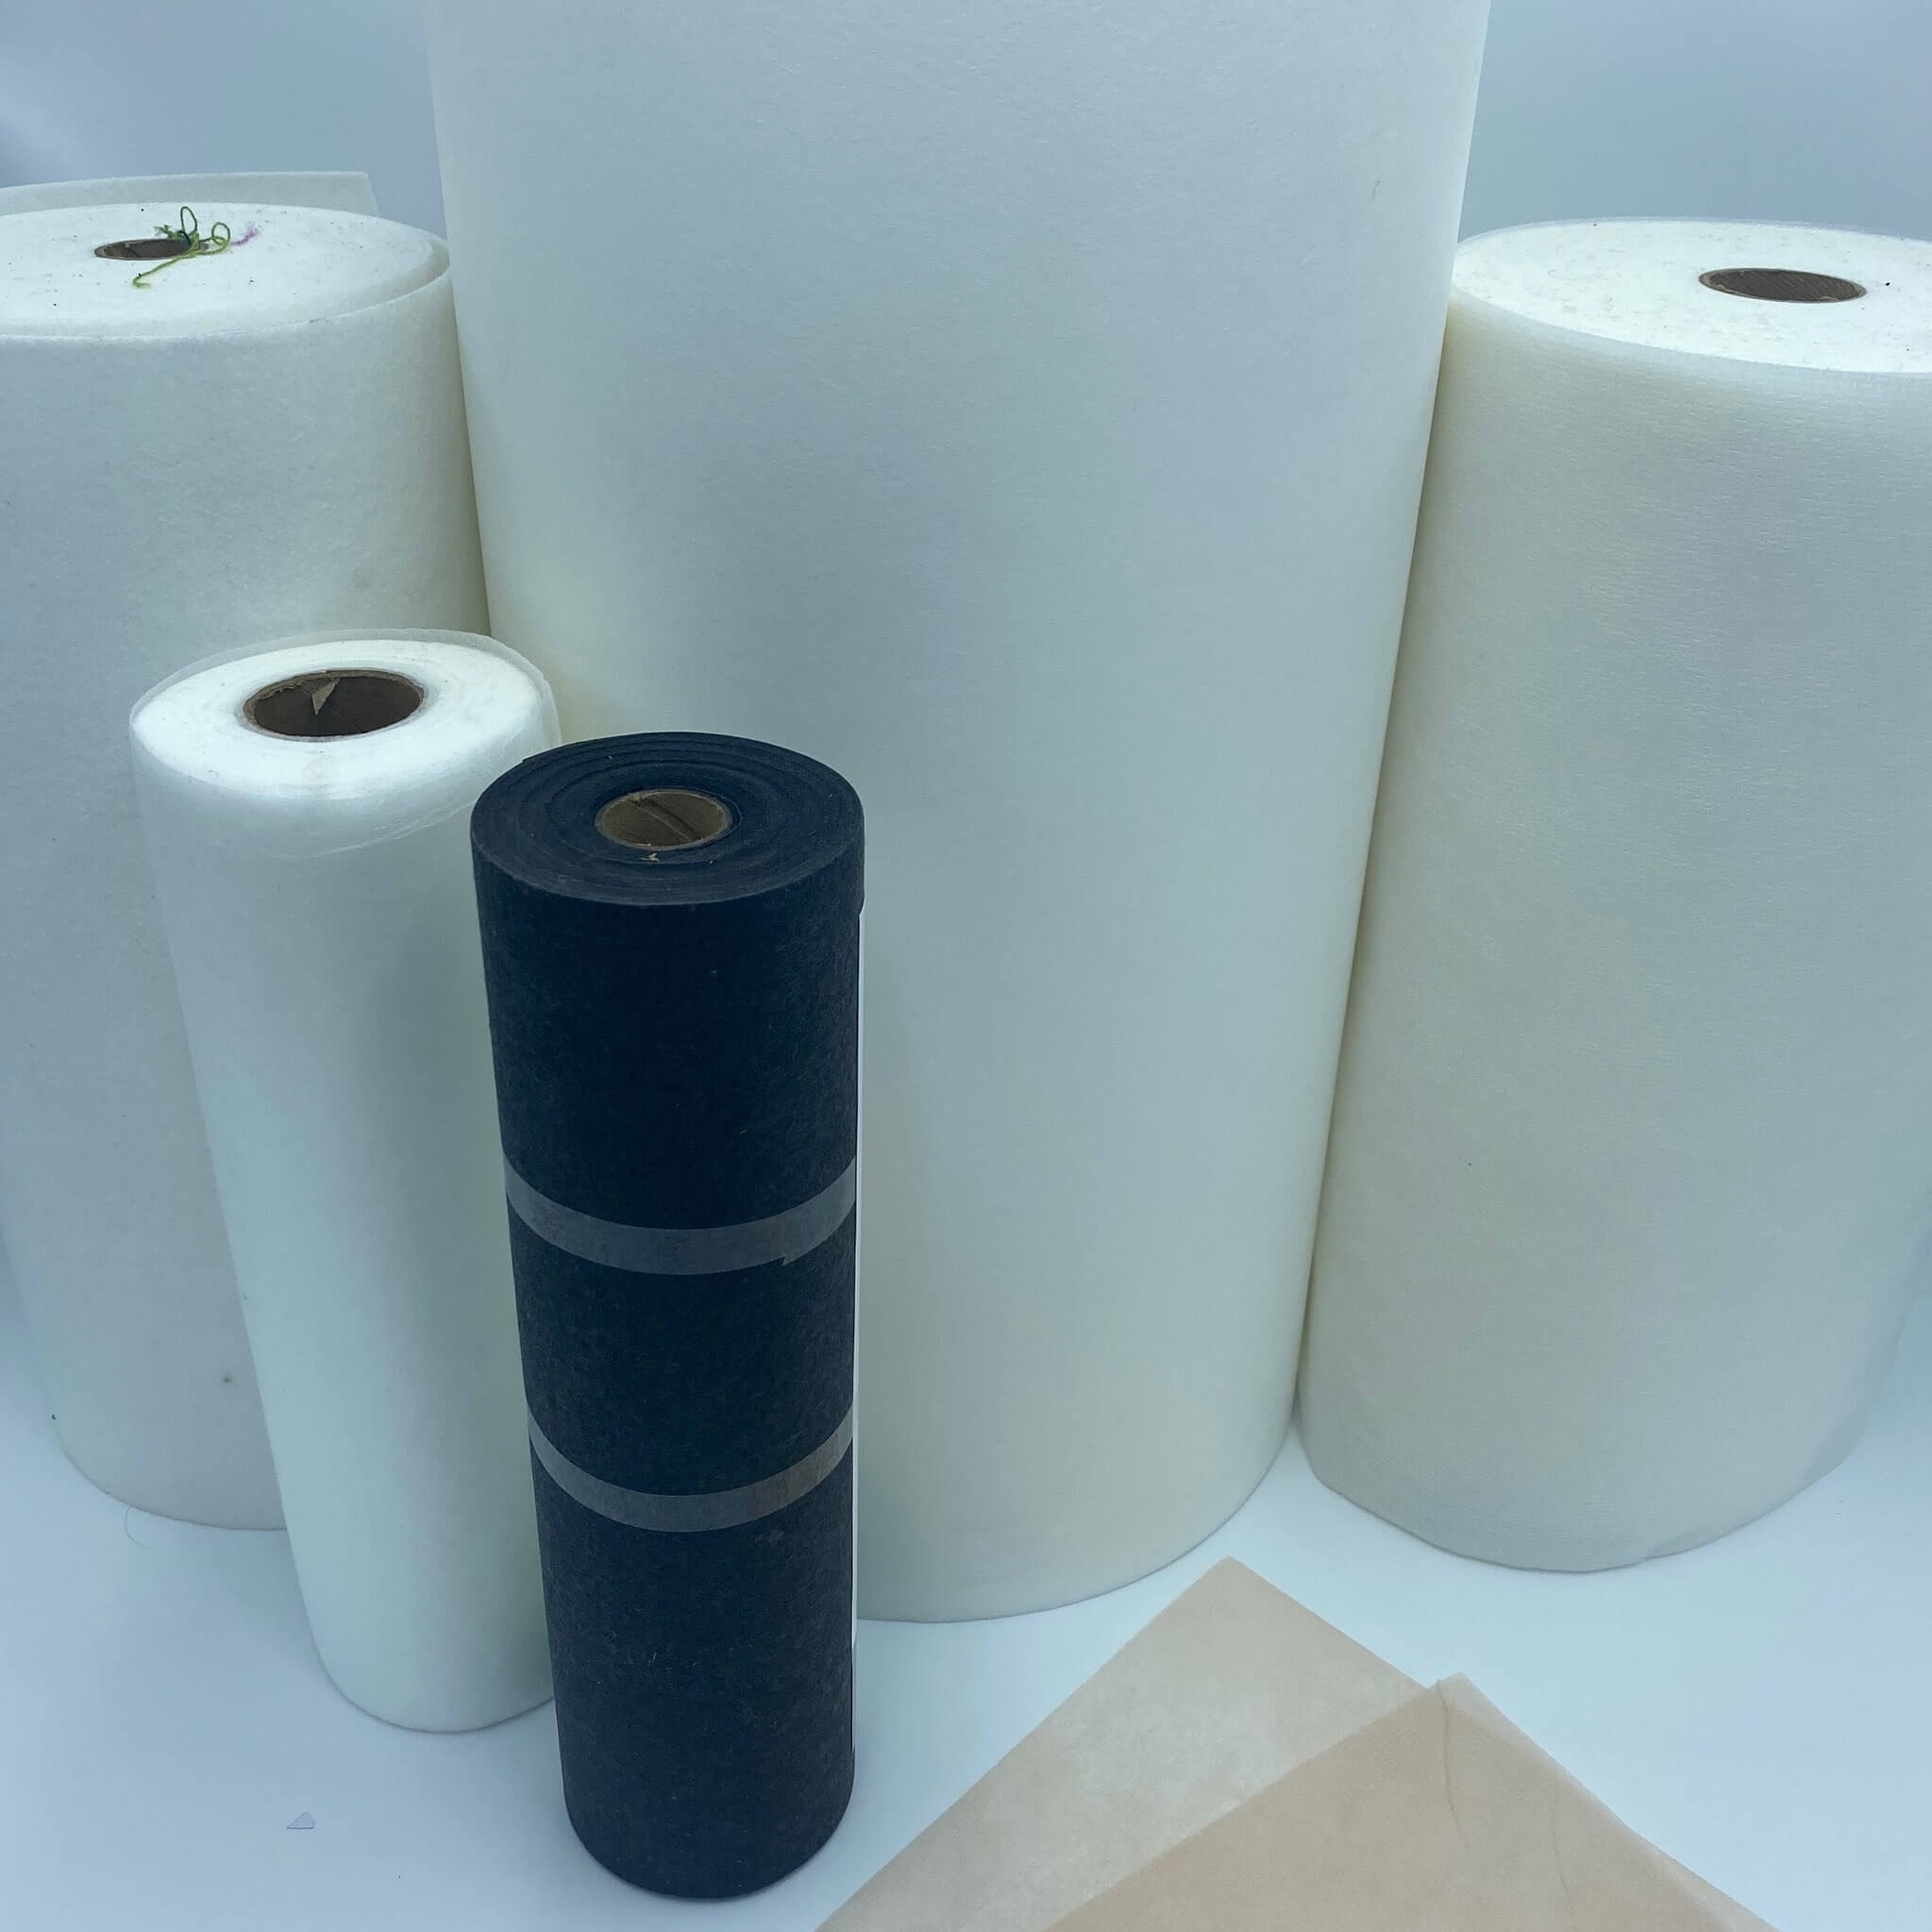
- Cutaway Stabilizer
- Design template print-off
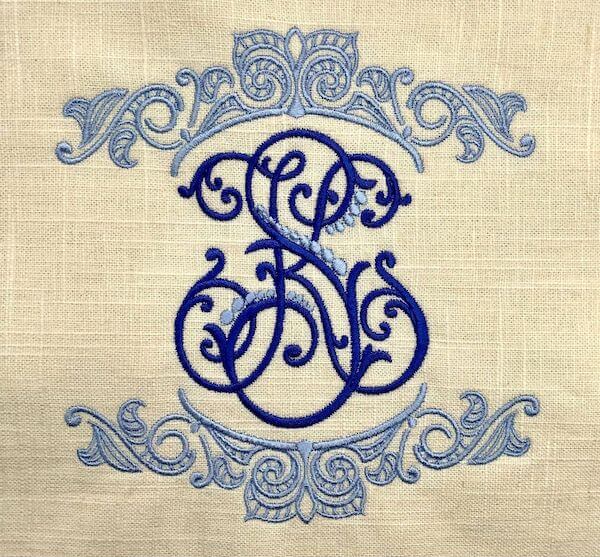
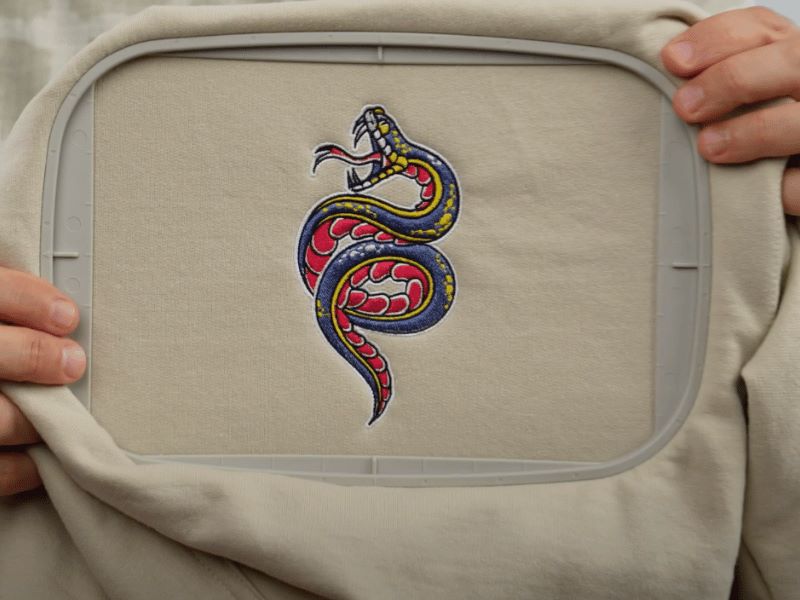
- Embroidery design – we used our Traditional Snake Tatt design for this sweater
Hoodie Embroidery Tutorial:
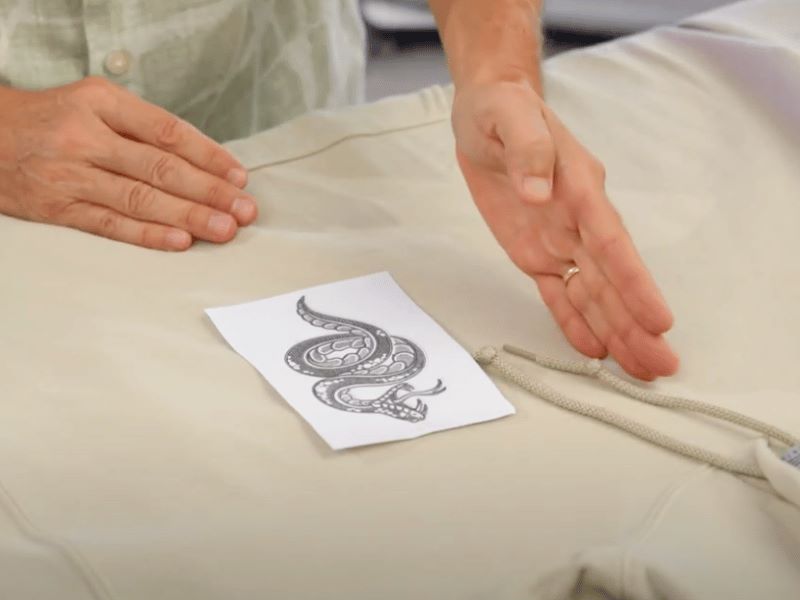
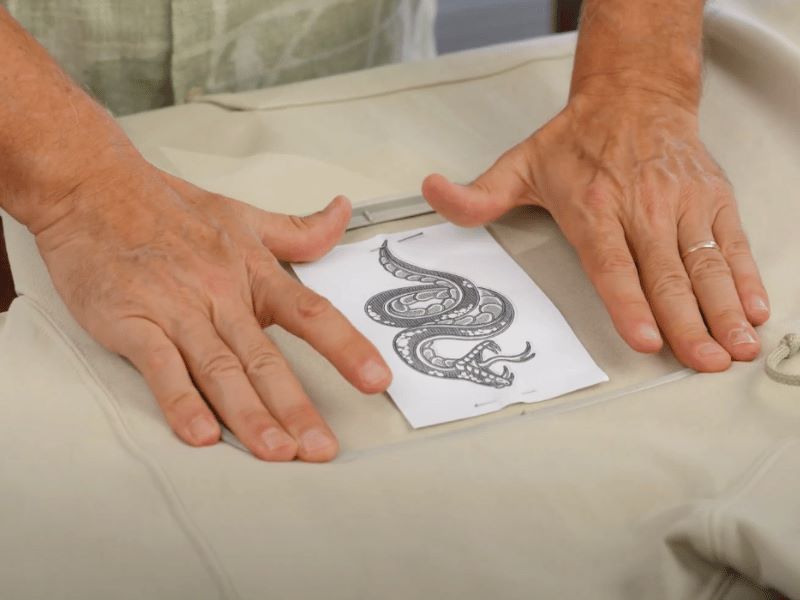
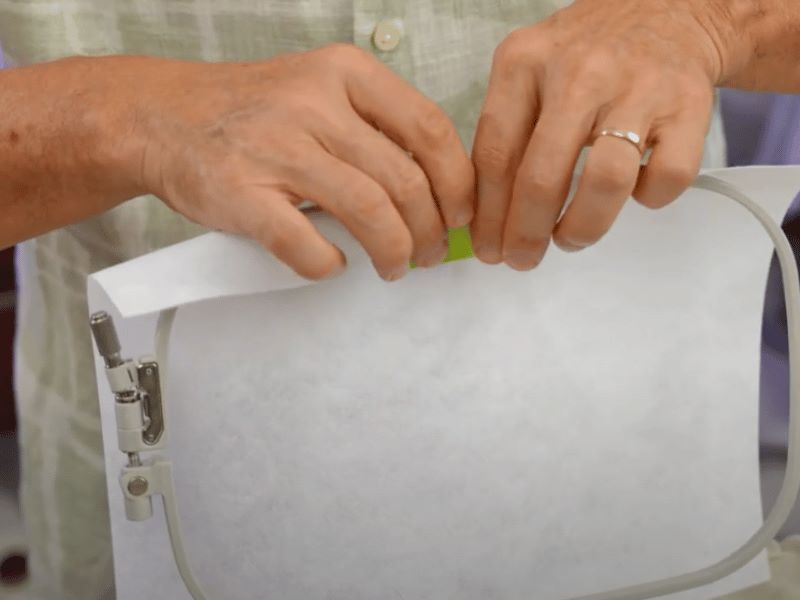
Step 1: Print out and cut your design template. Use the template to ensure your design fits within your hoop and achieves perfect placement on your hoodie.

Step 2: Pin your design template in place. Hold up your hoodie to ensure the template is in the right place. Adjust the placement if needed.
Step 3: Hoop your stabilizer and hoodie. (Watch the video above to learn how to gauge and preset your hoop for the best results.)
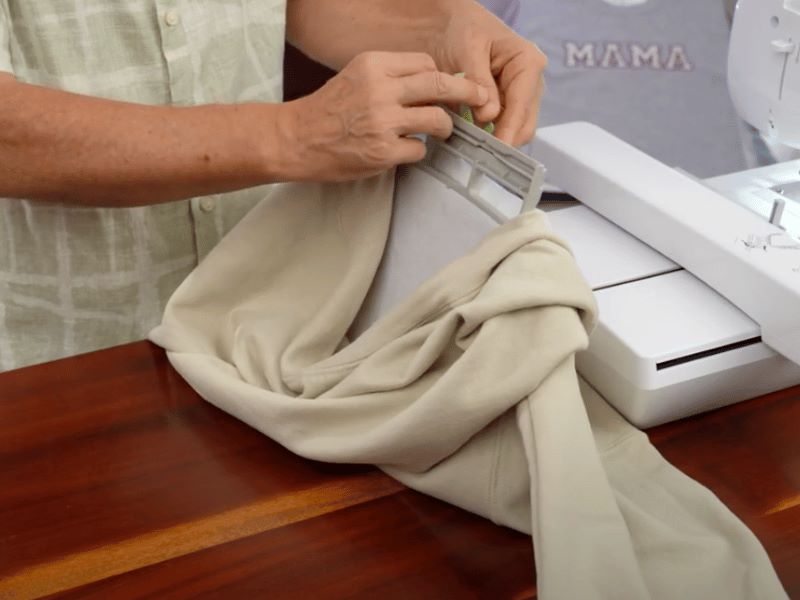
Step 4: Remove the tape from your hoop and stabilizer after your sweater is hooped.
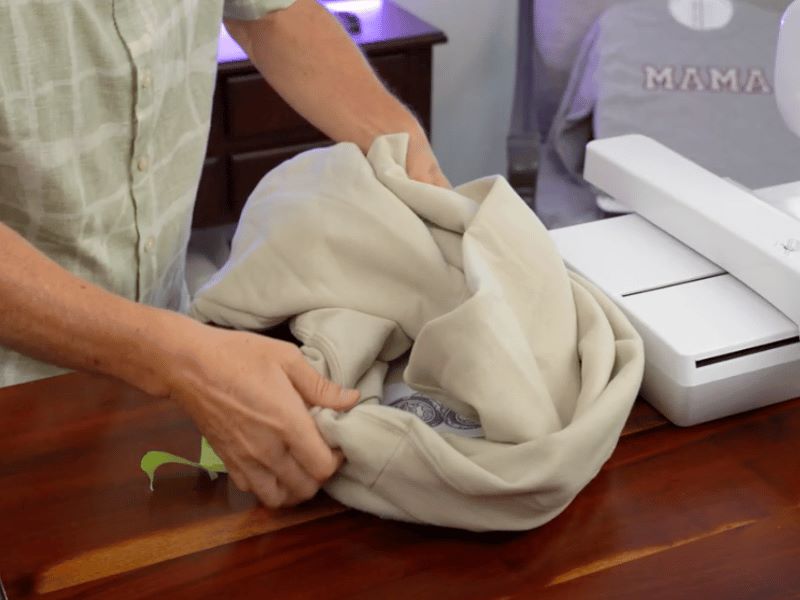
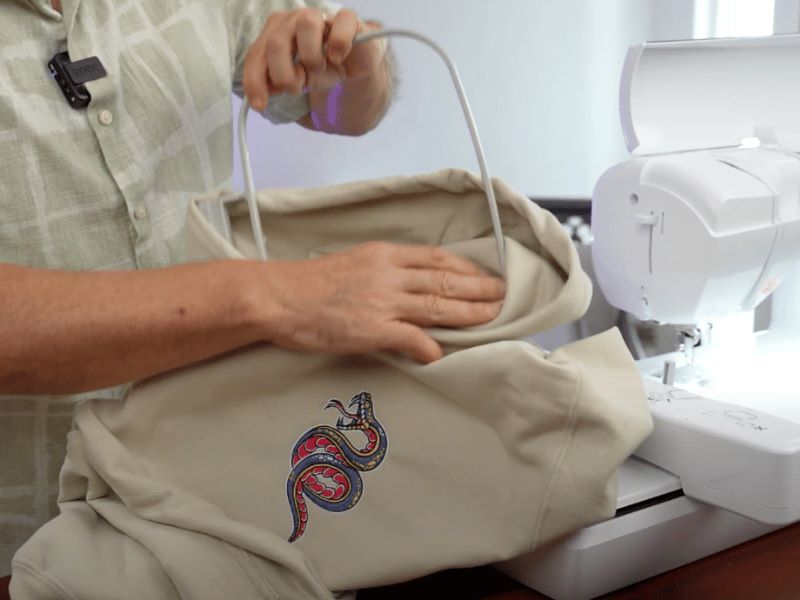
Step 5: Because we’re using a flat-head machine, turn your sweater almost inside out and create a bowl-like shape to create a flat surface.

Step 6: Load your embroidery design into your machine and place your hoop in it. Center your needle in the center of your design template.
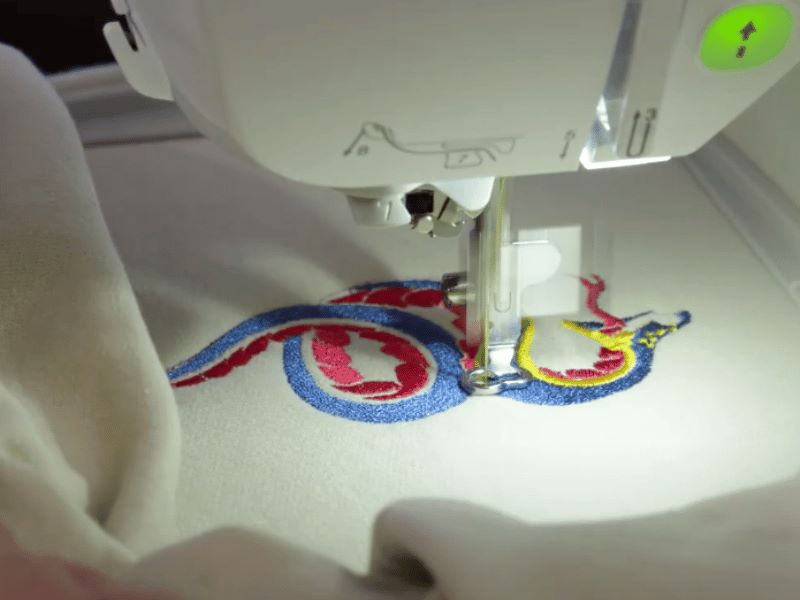
Step 7: Remove your pins and template from your hoodie and stitch out your embroidery design.
Step 8: After stitching your design, carefully remove your hoop from your machine.
Step 9: Remove the hoop from your hoodie.
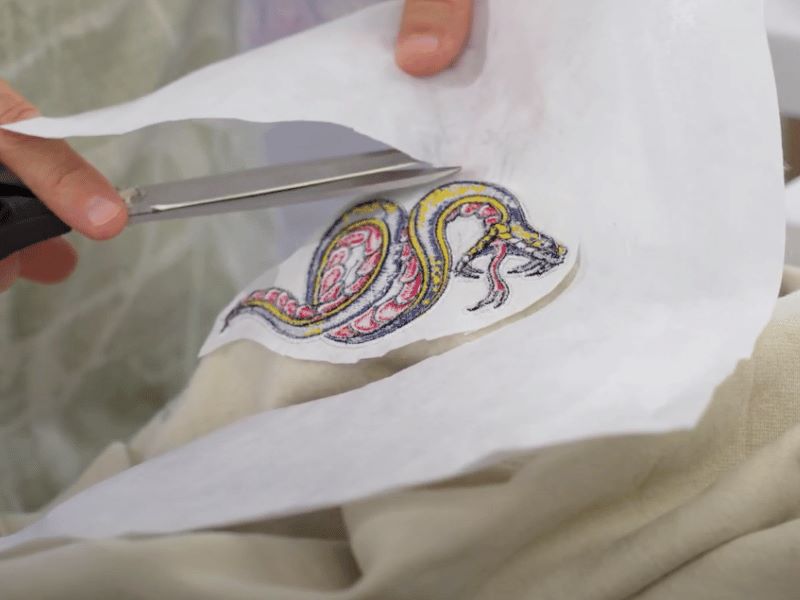
Step 10: Flip your hoodie inside and remove the stabilizer using scissors.
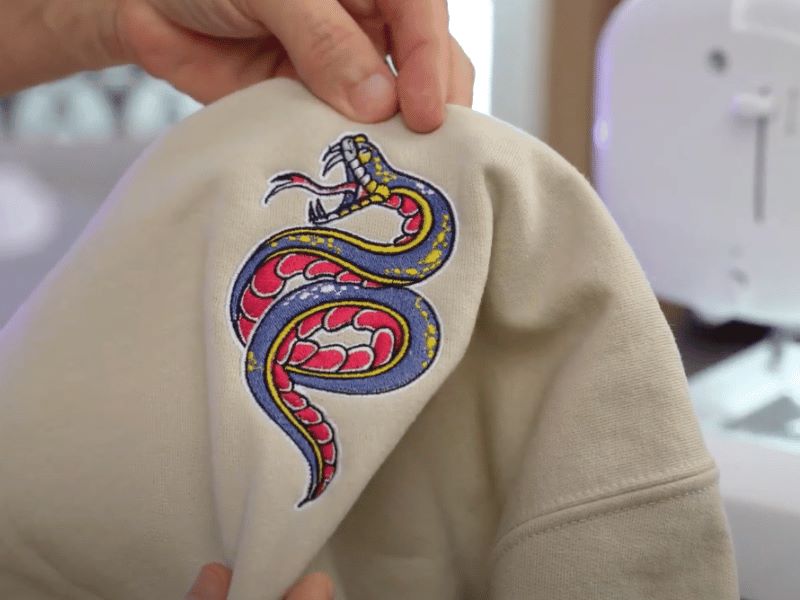
Step 11: You’re ready to wear your newly embroidered hoodie!

And that’s it! With these simple steps, you can embroider your hoodie with beautiful, professional results. Whether making a gift or creating something just for yourself, the process gets easier each time. Now, grab your hoodie and start stitching!